Each workspace keeps the following fully separated:
Documents: all receipts, invoices, and other extracted documents
Collect: connected email inboxes and mobile scanners
Integrations: accounting software (Xero, QuickBooks), cloud storage (Google Drive, Dropbox)
Settings: chart of accounts, business entities, email management, and members
This makes workspaces ideal for accountants and bookkeepers managing multiple clients, or for businesses that need to keep entities separate.
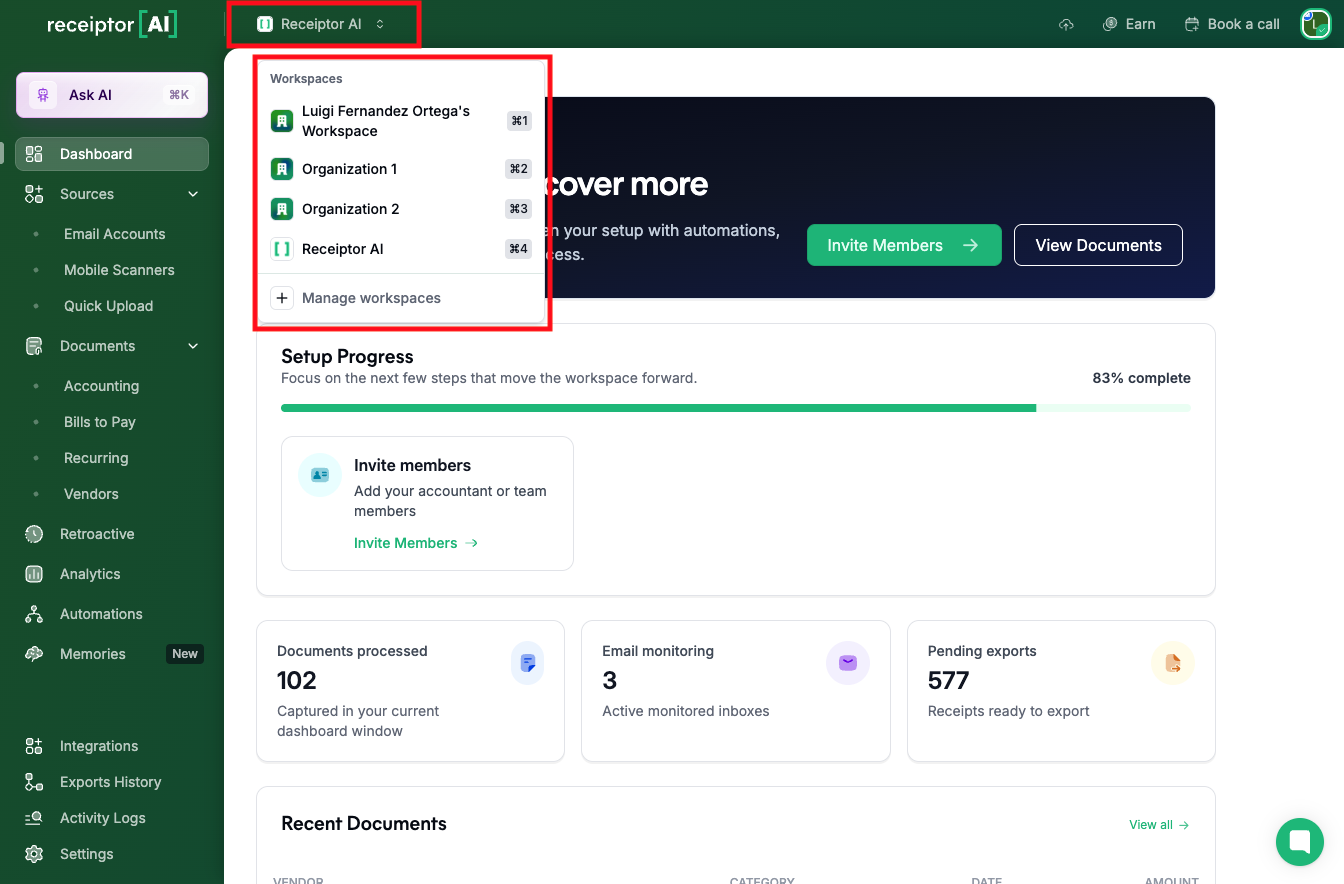
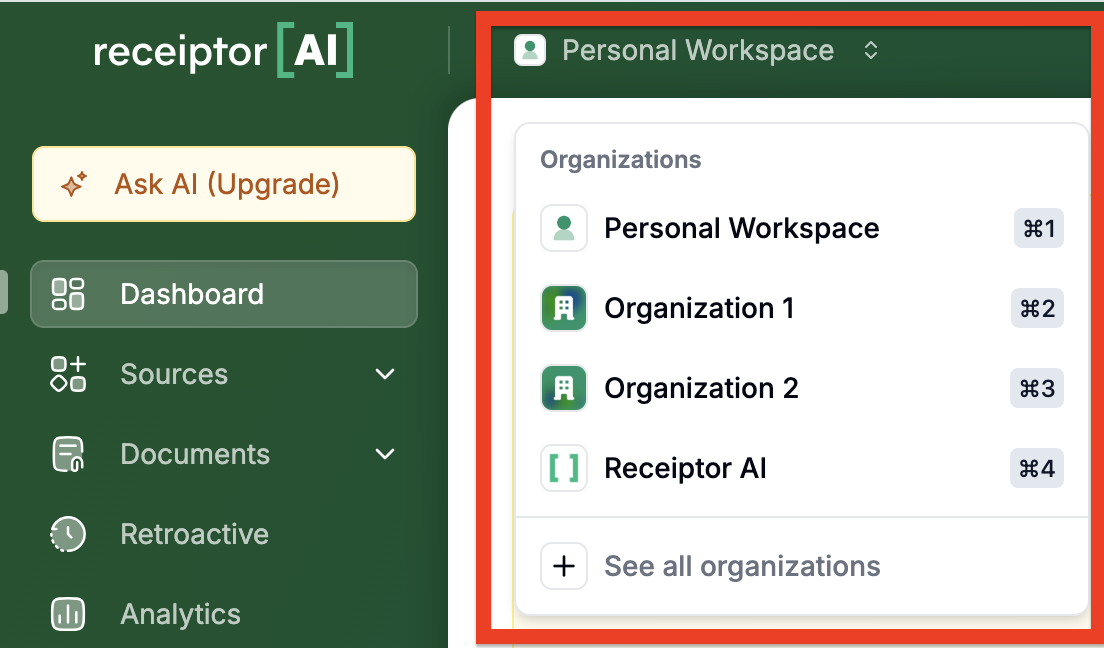
When you land on Receiptor AI, you'll see your current Workspace in the top-left corner.
From there, you can switch to any other workspace you have created, or go to Your Workspaces to see the full list, and create new ones.
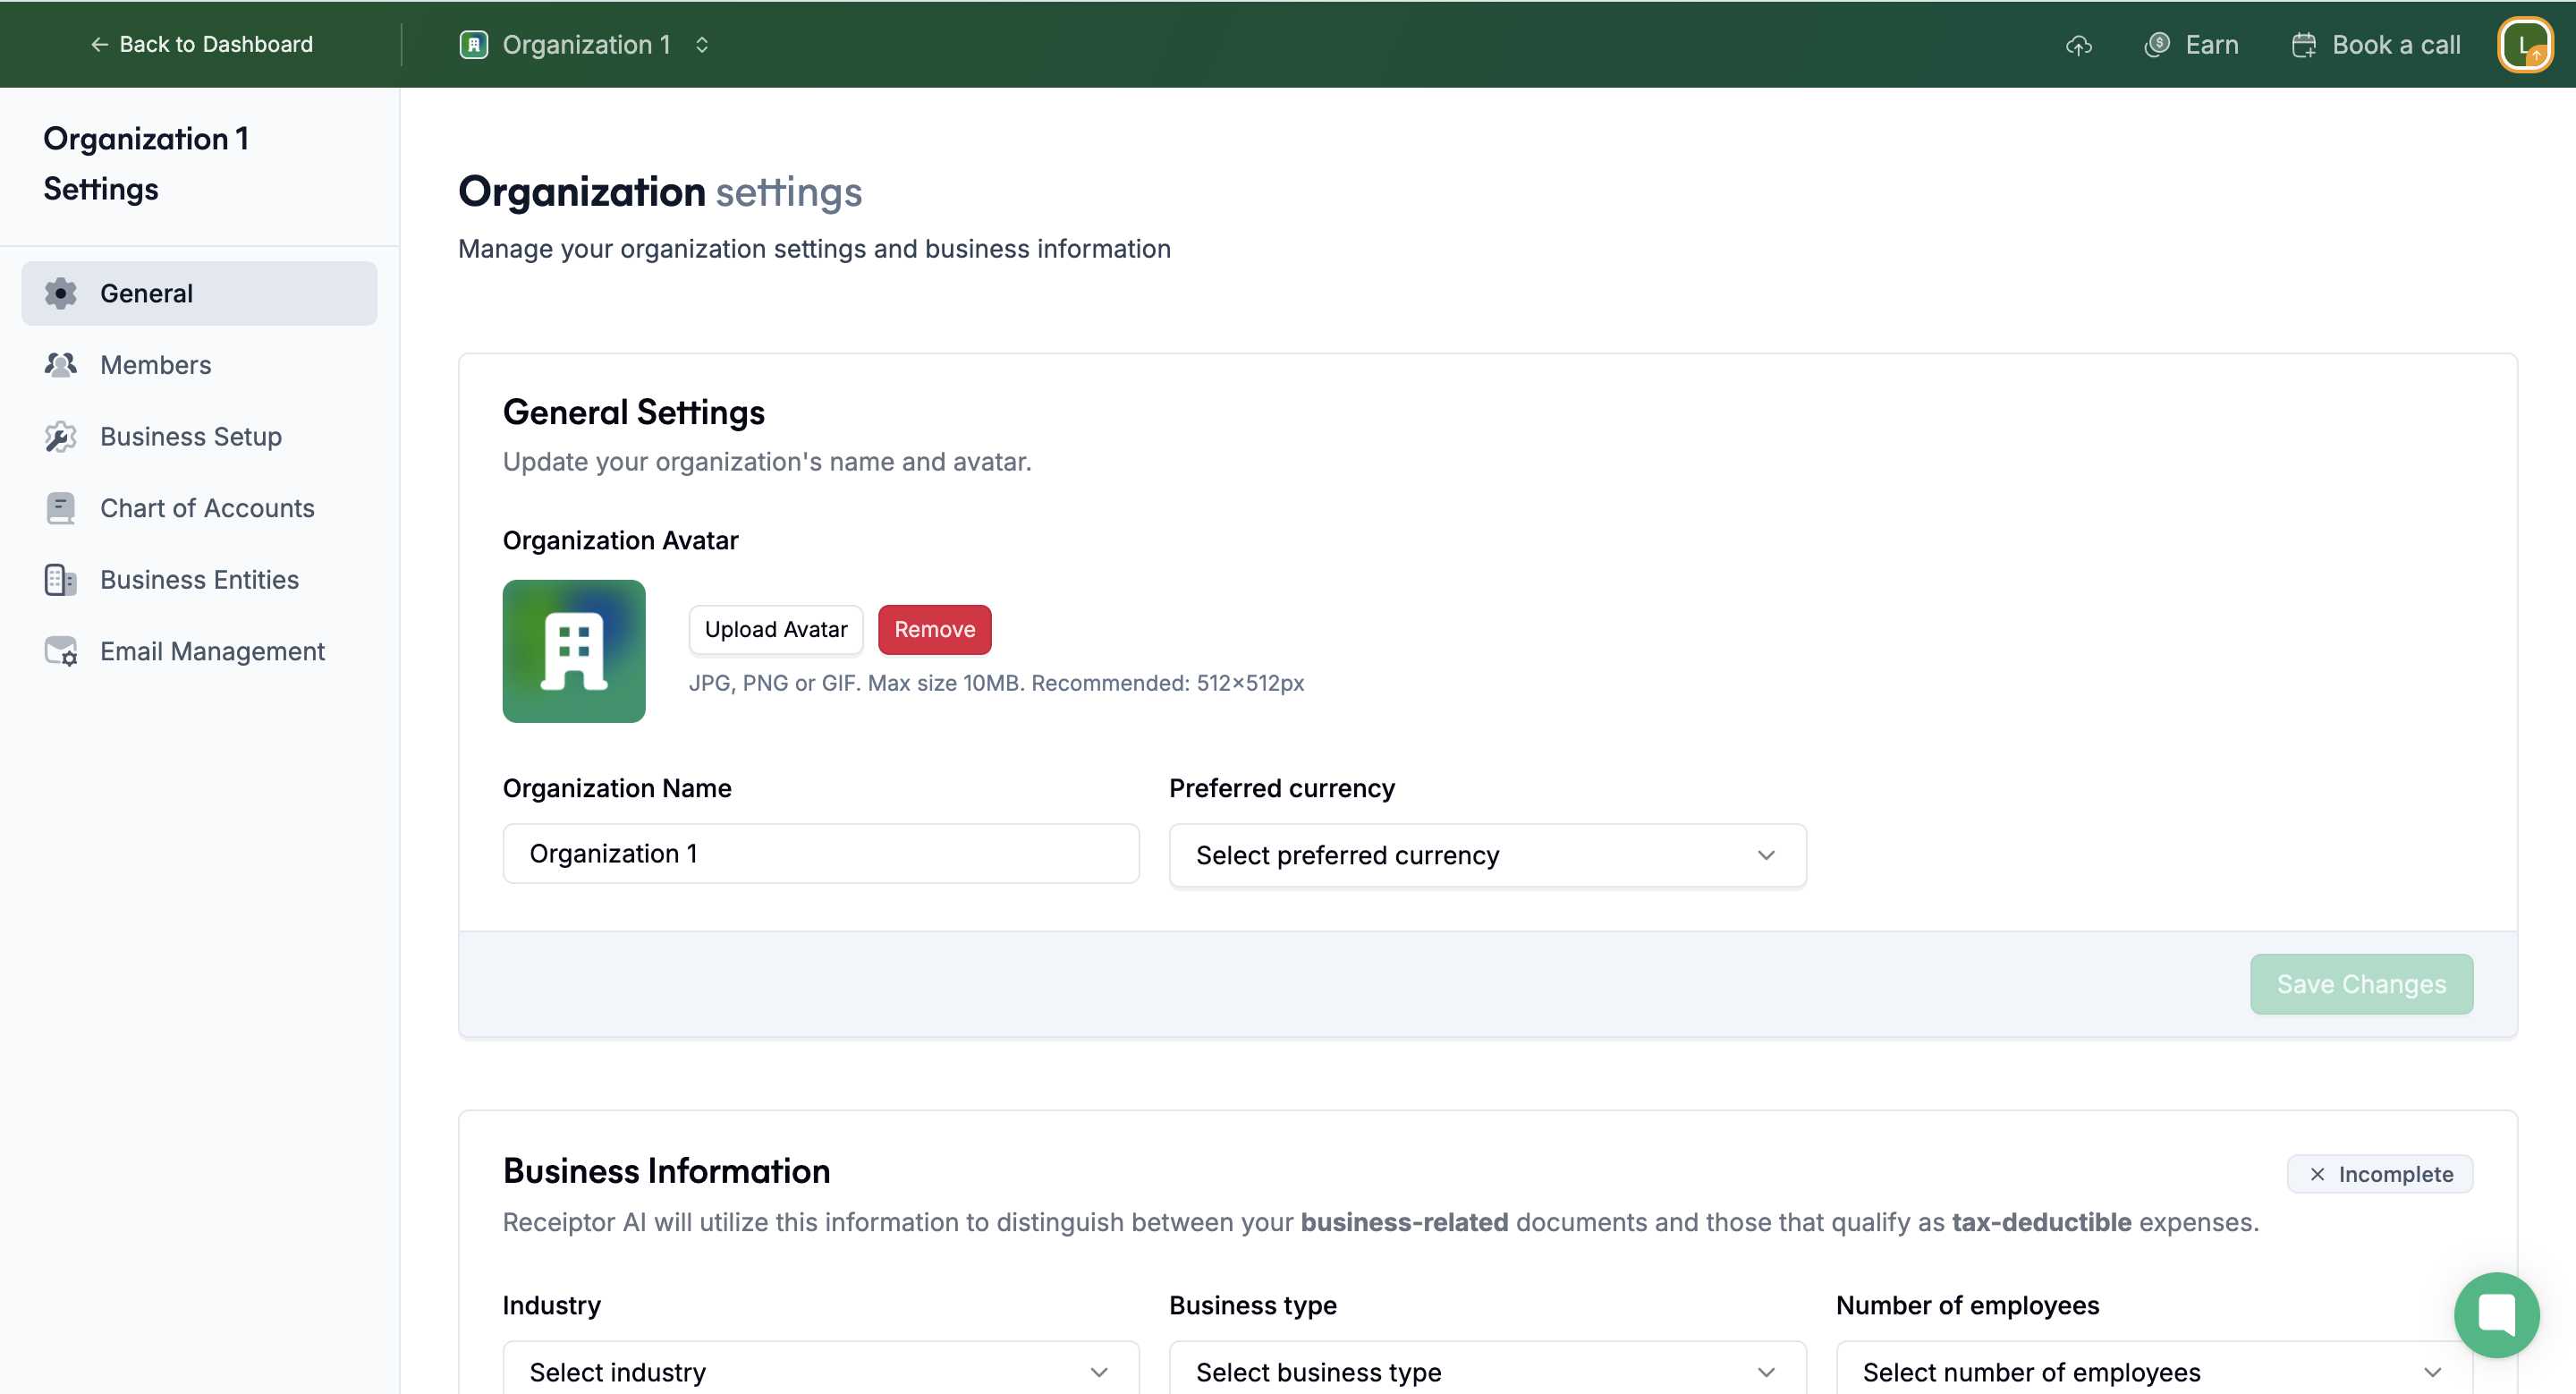
Once inside a workspace, go to Settings in the left sidebar to configure it.
Set the workspace name, preferred currency, and optional avatar. The preferred currency is used to display all amounts in your dashboard and documents at the live exchange rate at the time of the transaction.
You can also share business context here: industry, business type, number of employees, annual revenue, and revenue model, configure your business locations and tax compliance settings.
This gives the AI additional context, especially for documents with region-specific tax rules.
Create or import the chart of accounts the AI will use to categorize your documents. You have four options:
Manually: name the chart and add each account with an optional description and GL code.
With AI: describe your business type and industry, and the AI generates a chart of accounts for you.
Import from CSV: upload a spreadsheet using the provided template.
From Integration: connect Xero or QuickBooks to import your existing chart of accounts automatically.
Once created, you can set any chart as the default for this workspace using the star icon.

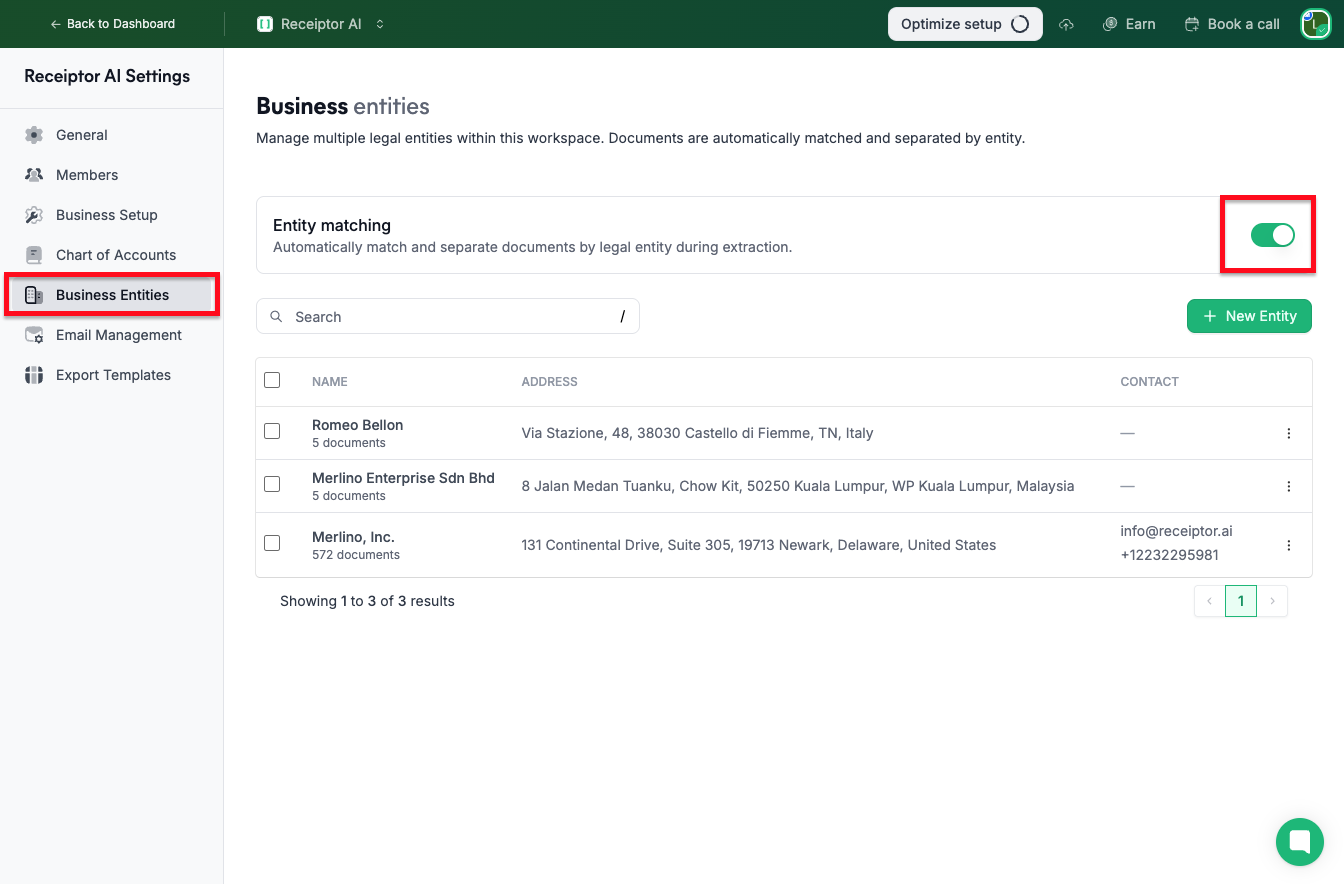
Enable this feature if you need to separate documents by legal entity within the same workspace. This is useful when documents for multiple companies arrive in a single inbox.
Once enabled, Receiptor AI automatically matches each document to the correct entity based on the billing details. To define an entity, provide at minimum a name and address. You can also add aliases, email addresses, phone numbers, or a tax ID to improve matching accuracy.
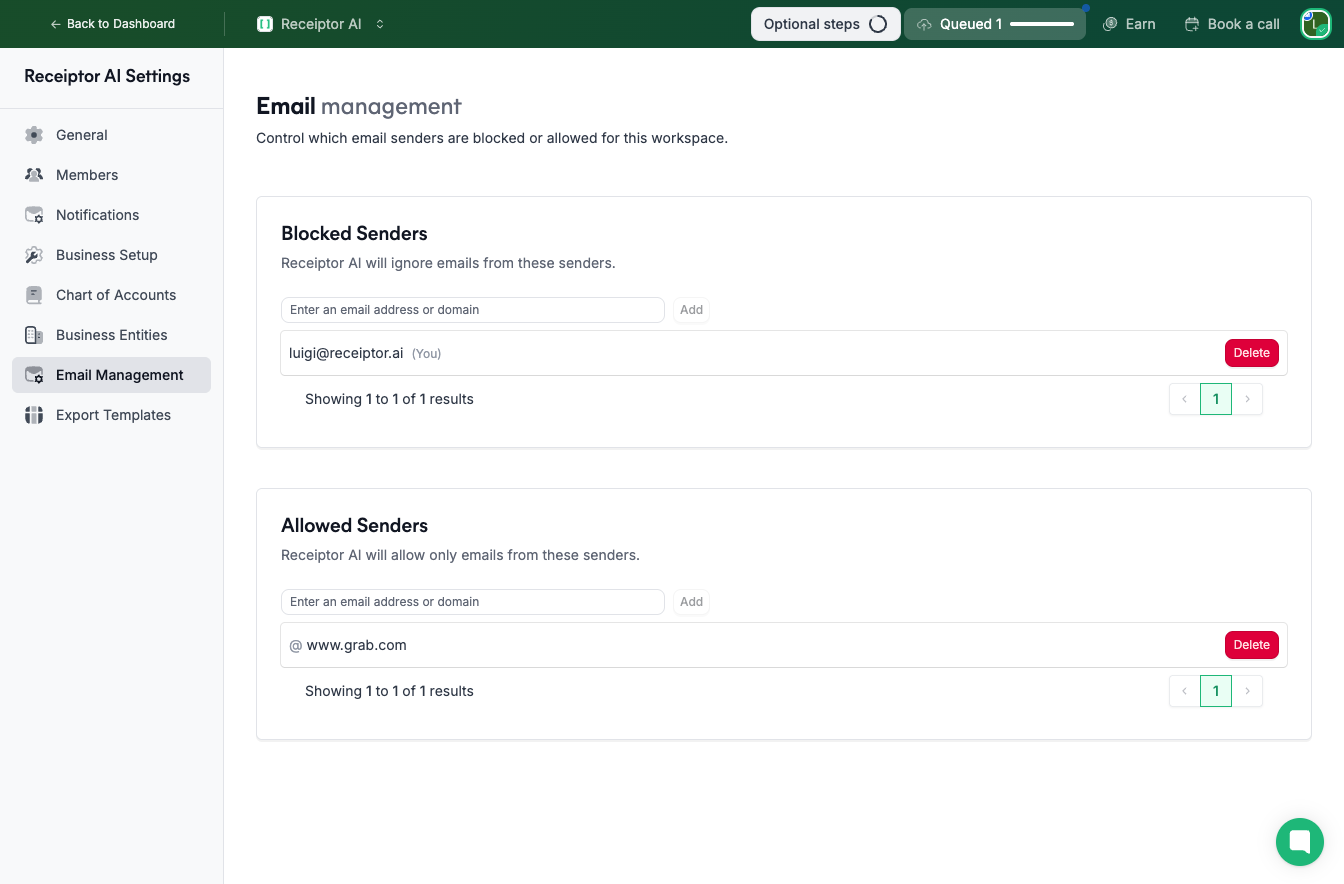
Define which email senders are allowed or blocked across this workspace. These lists apply to both continuous monitoring and retroactive extractions, based on your configured settings.
You can add individual email addresses or entire domains to either list.
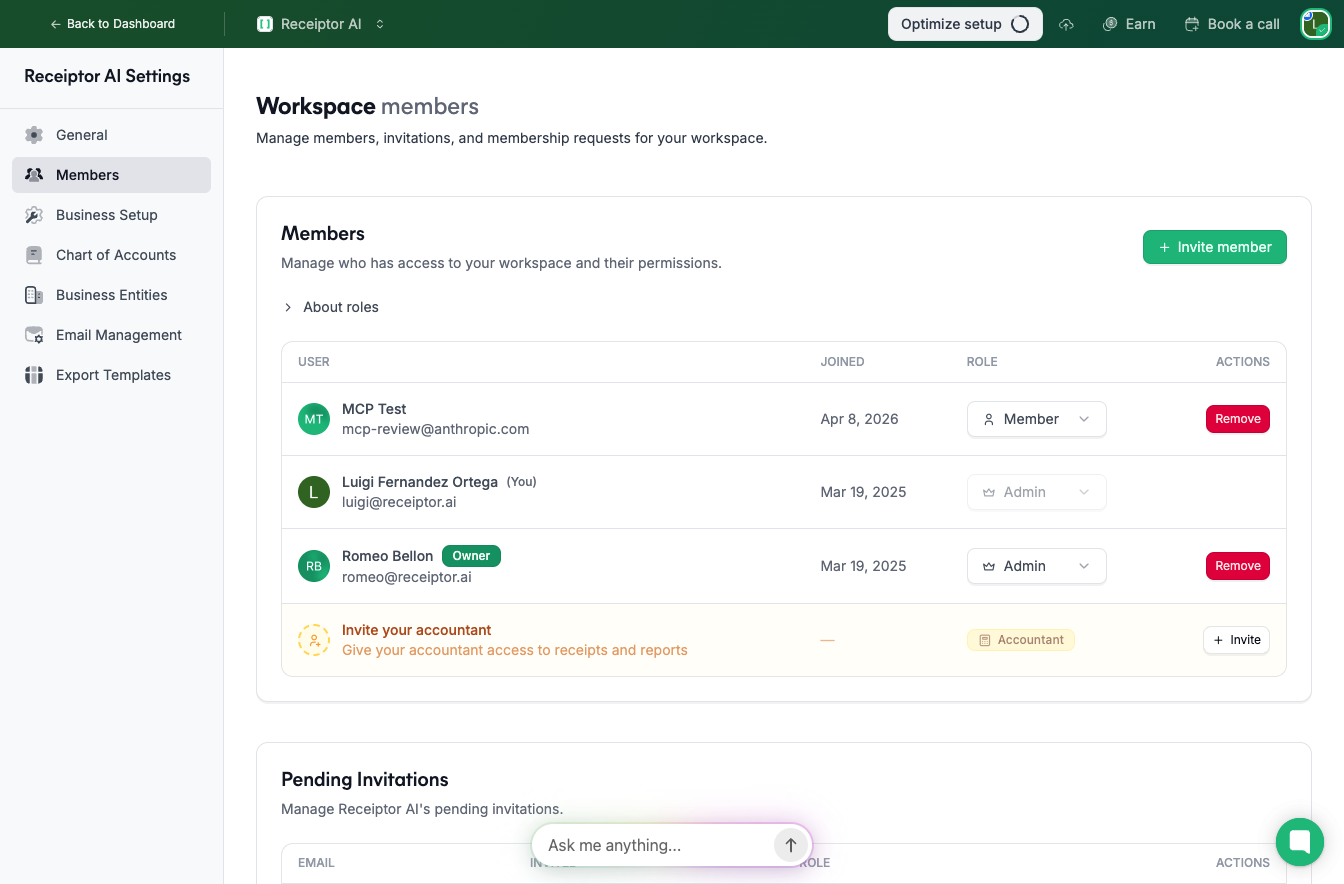
When you invite someone to your workspace (make sure you have admin access to the workspace), you assign them one of four roles:
Admin full access: documents, sources, activity logs, members, settings, and billing.
Members can view and manage documents, sources, and activity logs, but cannot manage members, settings, or billing.
Accountants can view documents, sources, and workspace data; can manage settings and billing, but cannot see other members' activity logs (only their own).
Guests can only connect and view their own sources and activity logs. No access to documents, reports, or any workspace settings. Useful for inviting clients to connect their inboxes without exposing your workspace.
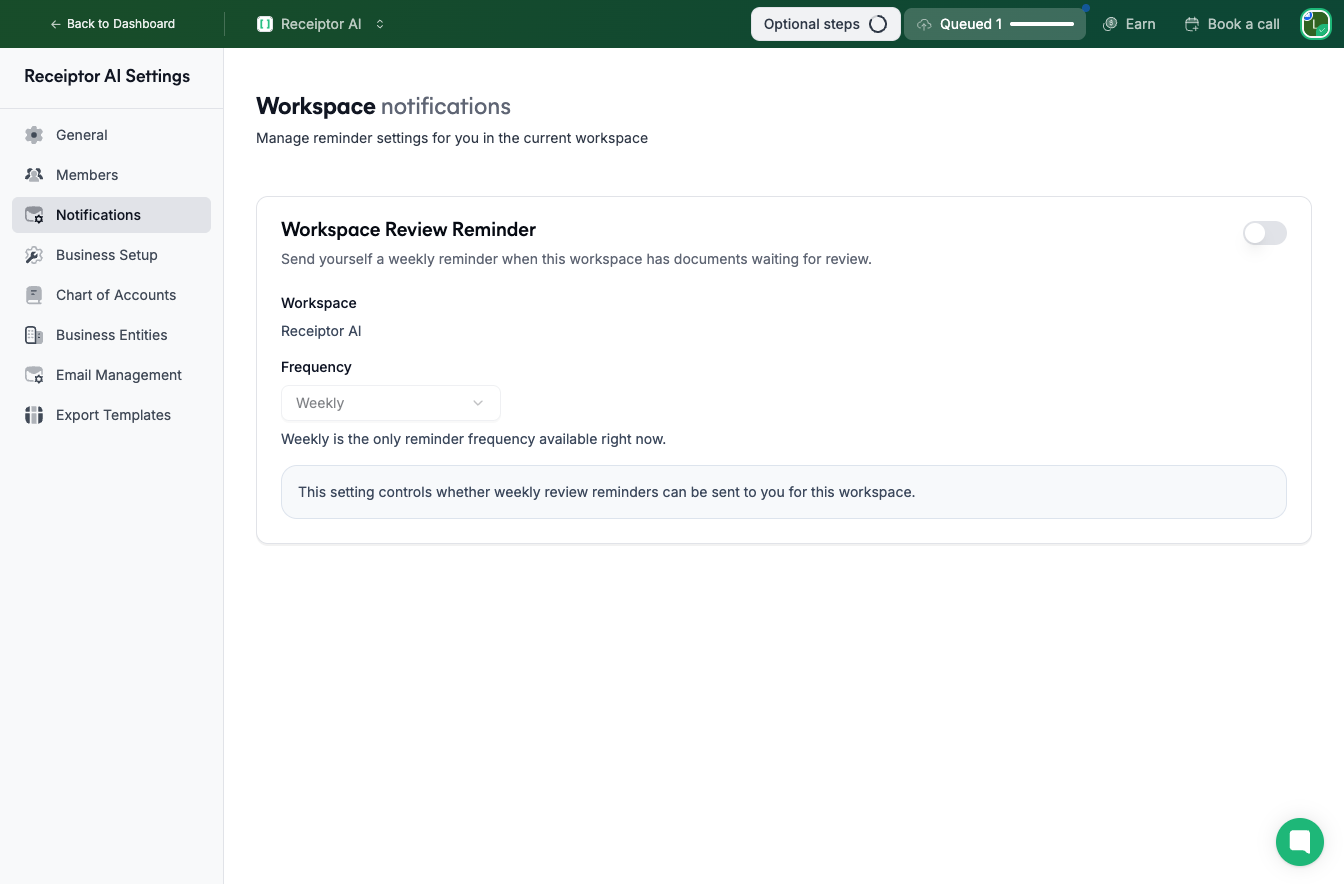
Enable a weekly reminder for this workspace. When turned on, Receiptor AI sends you a notification when documents are waiting for your review. You can toggle this on or off at any time.
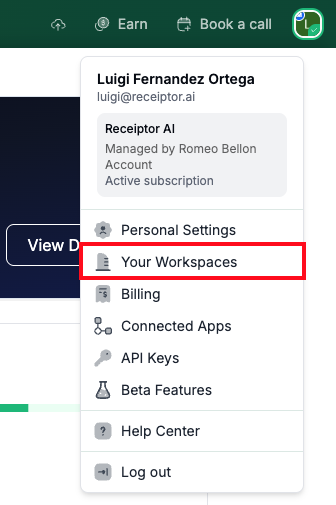
Go to your profile menu (top-right corner).
Click 'Your Workspaces'
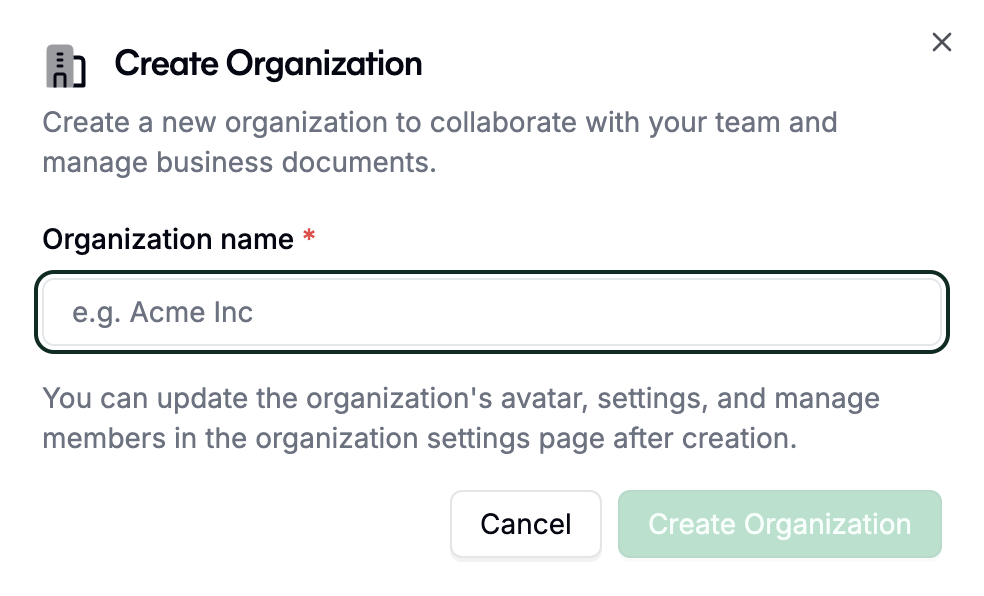
Click 'New' and enter org name (e.g. “My Consulting LLC”).
You'll see your newly created workspace among all other workspaces you have access to. You'll also see your role and the organization members.

You can also use the switcher in the top-left corner to view or switch between your workspaces.
Q: How many workspaces can I create?
A: On the Starter plan, you can have one workspace. From the Growth plan onwards, you can create unlimited workspaces.
Q: I manage multiple clients. Should I create a separate workspace for each one?
A: Yes, if possible. We recommend a dedicated workspace per client, with their email connected via Guest invitation. If that is not practical, you can manage multiple clients within a single workspace using Business Entities to keep their documents separated.
Q: Can I transfer documents from one workspace to another?
A: Not yet, but our support team can assist with transfers upon request. Reach out via the in-app chat or at [email protected].
Q: Can a member belong to multiple workspaces?
A: Yes. A user can be invited to as many workspaces as needed, with a different role in each one.
Q: Who manages billing for a workspace?
A: The workspace owner manages billing. Admins can access billing settings, but the subscription is tied to the owner's billing account. You can see which workspaces you own and which you have access to under Profile → Billing.
If you need help transferring documents between Workspaces, setting up guest access, or managing complex multi-entity configurations, contact our support team at [email protected].
